
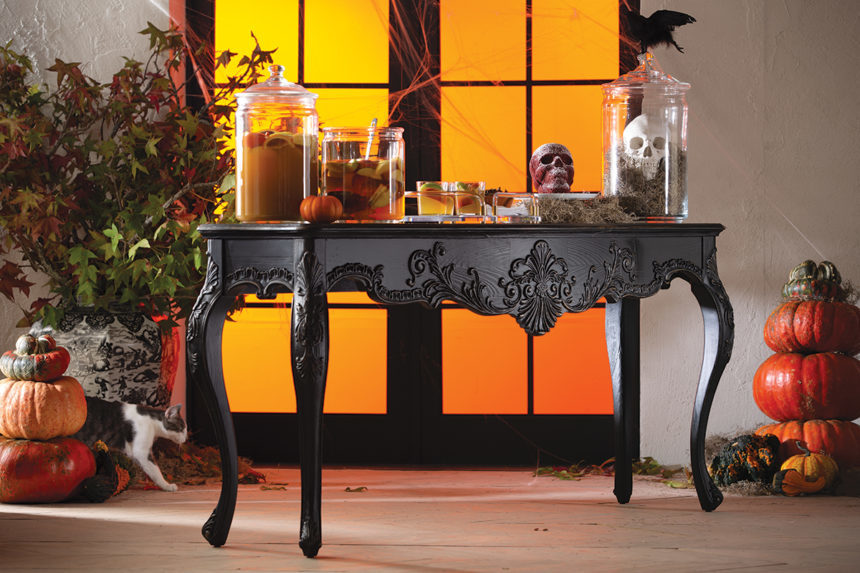
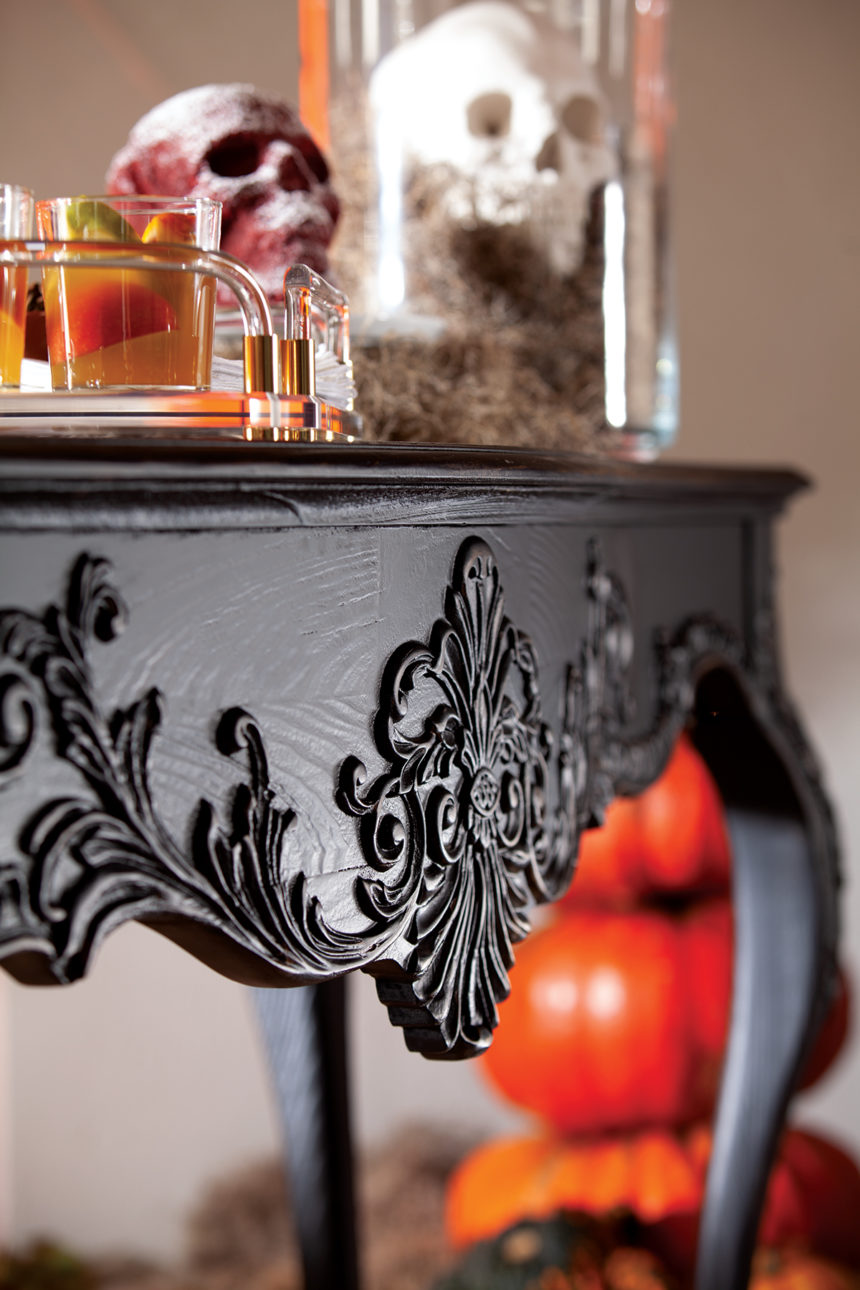
Celebrate the day with a spooky sweet Red Velvet Skull Cake!
After our recent Halloween nook post was published, we got an enthusiastic response—and one question was asked over and over: How do you make that scrumptious Red Velvet Skull Cake?
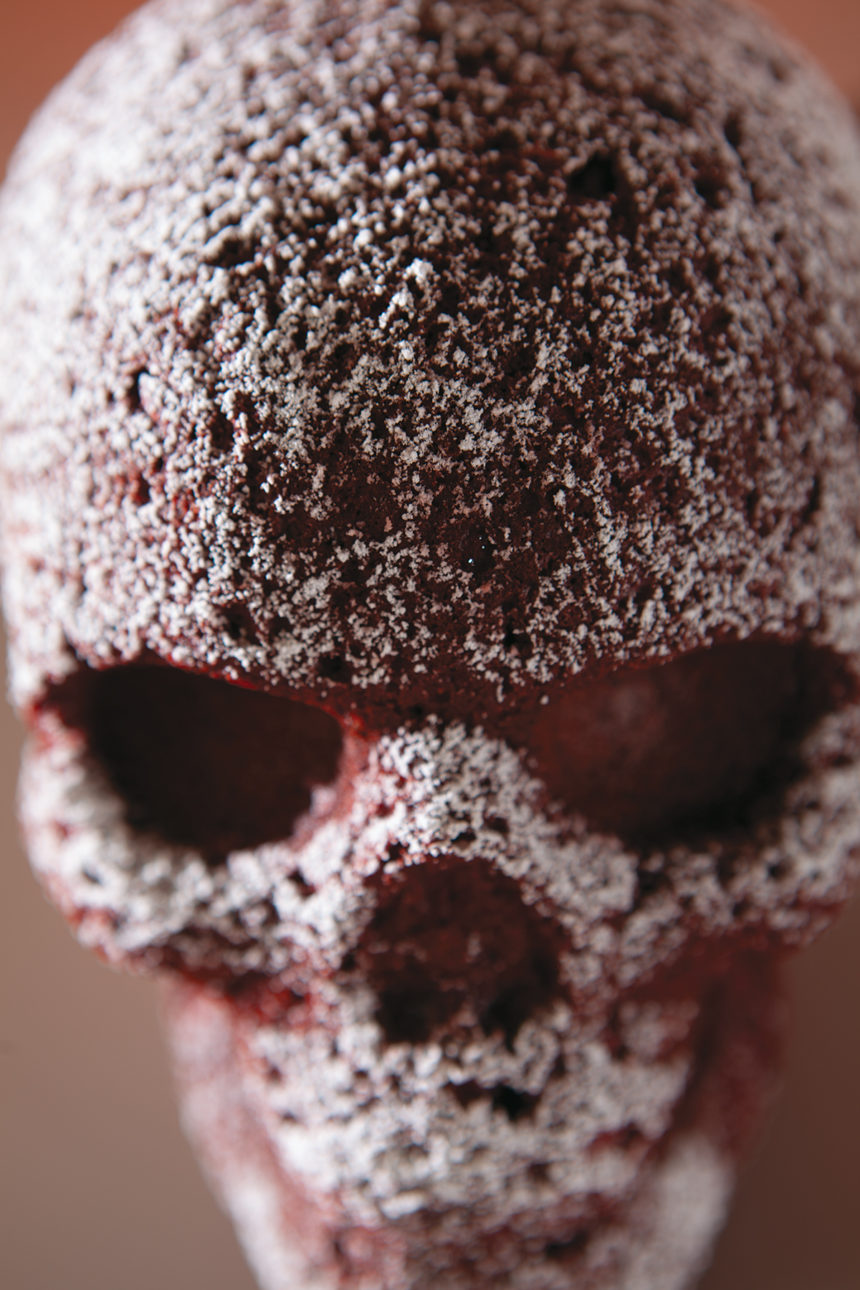
Shawn has generously shared the recipe with us, and you’ll find it below. Happy Halloween!
Red Velvet Skull Cake
Recipe adapted from Pretty. Simple. Sweet.
Cake pan used: Nordic Ware’s Haunted Skull Cake Pan #88448
- 2½ cups all-purpose flour
- ¼ cup corn starch
- 2 tablespoons unsweetened cocoa powder
- 1 teaspoon baking soda
- ¾ teaspoon kosher salt
- ½ cup (1 stick) unsalted butter, softened
- 2 plus 2 teaspoons cups granulated sugar
- 1 cup vegetable or canola oil
- 3 large eggs
- 2 teaspoons vanilla extract
- 1¼ teaspoons distilled wine vinegar
- 2 to 3 tablespoons red food coloring
- 1 cup buttermilk
- Preheat the oven to 350°F. Spray the cake pan generously with cooking spray.
- In a medium bowl, sift together the flour, corn starch, cocoa powder, baking soda, and salt. Set aside.
- In a stand mixer fitted with a paddle attachment, beat together the butter and sugar on medium speed until light and fluffy (3 to 4 minutes). Scrape down the sides and bottom of the bowl as necessary.
- Beat in the oil.
- Add the eggs, one at a time, mixing well between each addition.
- Add the vanilla and vinegar and beat until combined.
- Add red food coloring until the desired color is reached.
- With the mixer on low speed, add half of the dry ingredients and beat just until combined. Add the buttermilk, followed by the rest of the dry ingredients. Do not overmix.
- Divide the batter evenly, filling each half of the pan no more than 3/4 full. Bake for 30 to 35 minutes or until a toothpick inserted into the center comes out clean.
- Cool the cakes in the pan on a wire rack until they’re ready to detach easily from the cake pan. Then, remove the cakes and place them on a wire rack to cool completely.
- Trim the connecting sides of each skull piece to ensure an even fit. To prevent sliding, join the pieces together with wooden skewers, or use a layer of icing to help them adhere together. Garnish skull with powdered sugar.
