
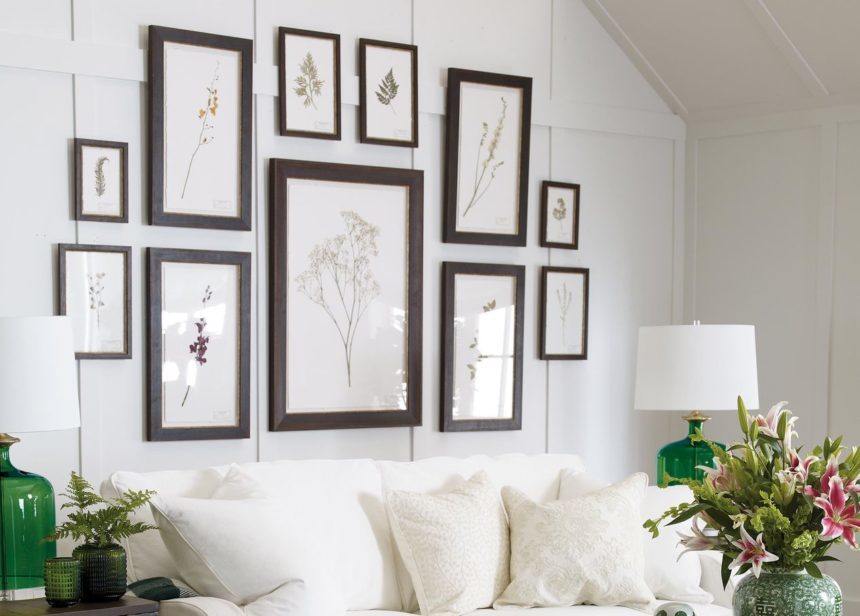
They’re featured in all your favorite interior design magazines and blogs (like ours!), but each one is unique. The gallery wall is a home design trend that’s here to stay—and it’s easy to see why. It adds an eye-catching element to your home, can help set the theme for a room, and is a fun way to express your personality.
If the idea of putting one together seems too daunting or complicated, or you just don’t know where to start—read on! These simple tips and tricks will help you pull off a perfect gallery wall of your own—with ease.
Choose the Wall
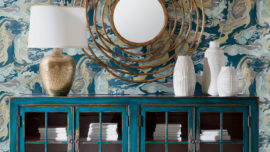
Gallery wall arrangements have the most impact on prominent walls painted in neutral colors. This lets the artwork really shine. Colored walls can work, too: Just be sure to create contrast with frames or white mats to prevent a bolder hue from visually swallowing up the artwork.
Think Thematically
Although there are no hard and fast rules when it comes to the content, gallery walls that share a color or a theme—such as abstract or botanicals—generally look more put together. Designer tip! If all of your artwork features the same subject, use unique frames to create a more interesting gallery wall design.
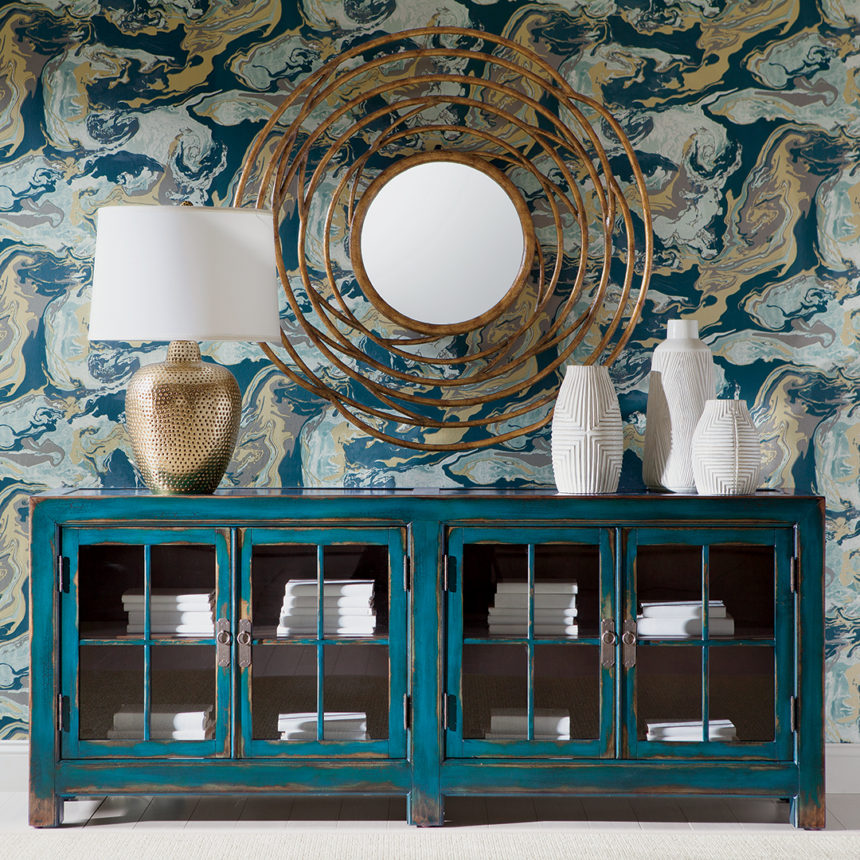
Add a Surprise
Consider incorporating a mirror, chalkboard, wall clock or family photo. When selecting this element, think about the room it’s going in. A gallery with a chalkboard is right at home in an entryway or kitchen where you can keep a can’t-miss shopping or to-do list.
Decide on a Style
If you love a clean modern look, group an even number of same-sized images together to create a symmetrical gallery wall design. For an eclectic gallery wall, mix rectangle, square and even round wall décor. Groups of three, five, or nine pieces work especially well.
Now that you’ve established the overall vibe of your gallery wall, you’re ready to start installing your art – but don’t start swinging the hammer just yet. These simple steps will help you create a flawless gallery wall with a just a few supplies and some imagination.
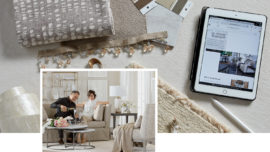
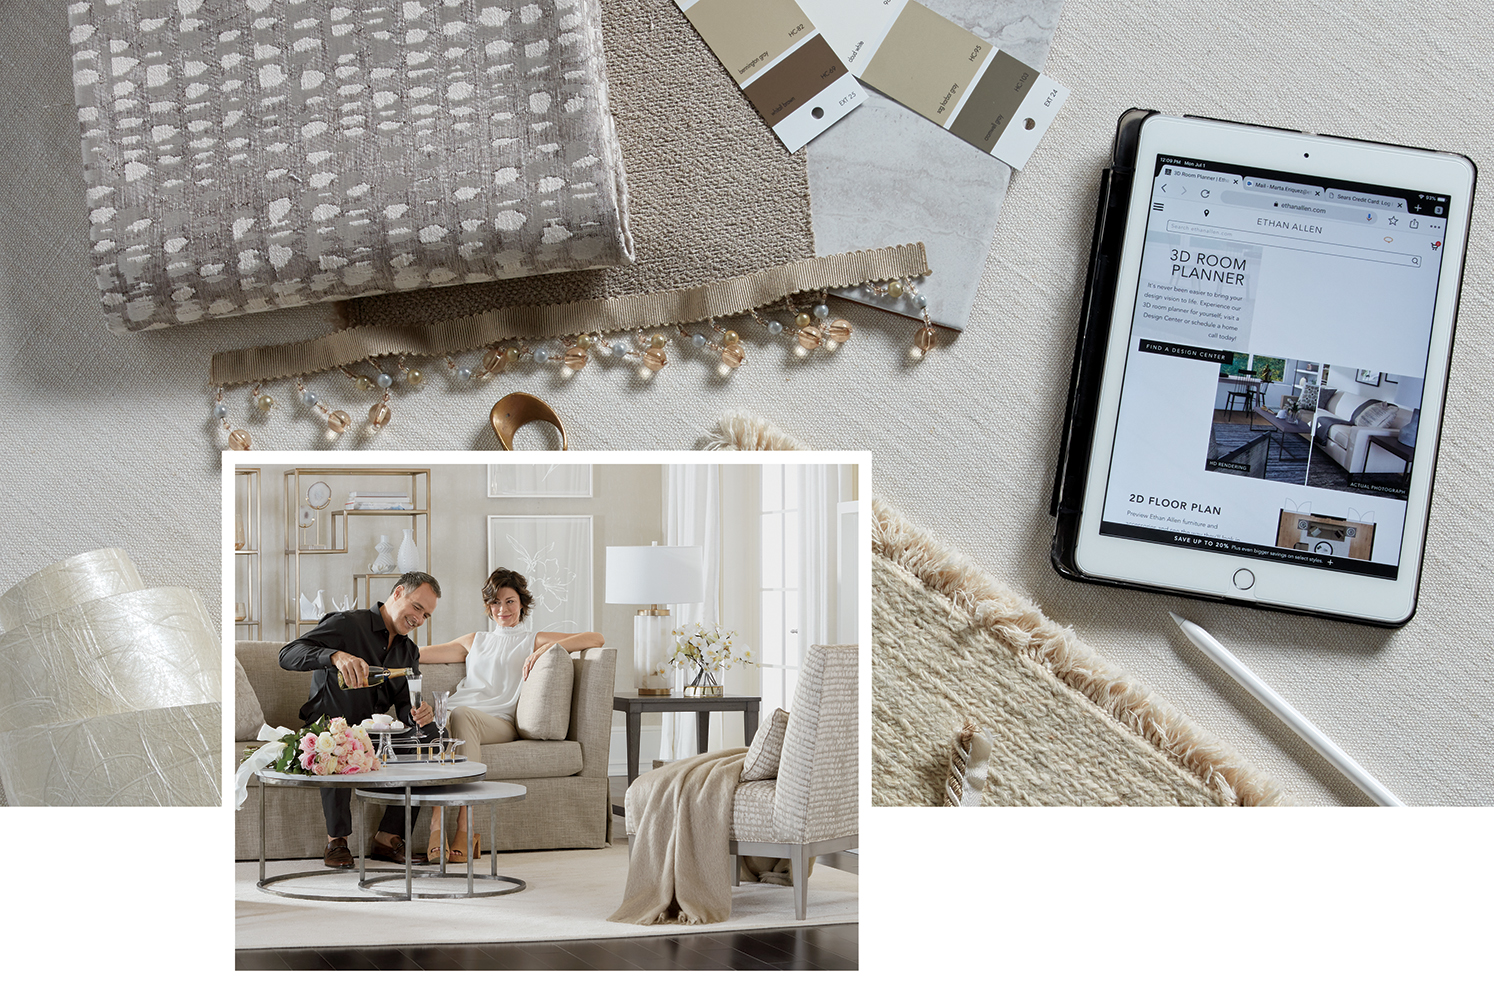
1. Gather the following: kraft paper, pencil, scissors, tape, a hammer, nails or picture hangers and framed artwork with saw tooth hooks or a picture wire—something you won’t need to worry about if you have Ethan Allen artwork, which features a wireless hanging system.
2. Spread the kraft paper on the floor. Trace your framed pieces onto it and cut them out.
3. Arrange the cut-outs on your wall starting at eye level and tape them in place. Play with the arrangement as much as you’d like! For an avant-garde look, try an arrangement with no spacing between artwork at all.
4. On each framed piece, measure the distance between the saw tooth hook(s) or picture wire when it’s held taut and the top of the frame.
5. Measure the same distance from the top of the corresponding cut-out and insert a nail through the kraft paper at that point.
6. If you’re using Ethan Allen artwork, you can skip steps 4 and 5! Just place and press the art piece firmly against the corresponding cut-out to create dimple marks, then insert the provided self-hanging hardware at those points.
7. Remove the cut-outs from your wall, hang your artwork, and voila—the perfect art gallery wall!
Ready to get started? Mix art you own and love with new ones or create an entirely new look. We’ve got hundreds of pieces of framed and custom-framed artwork to choose from!
